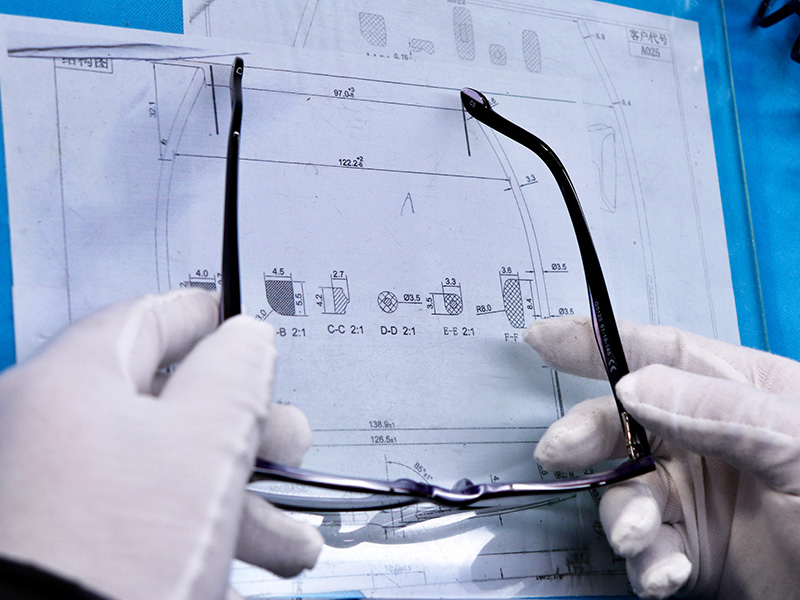
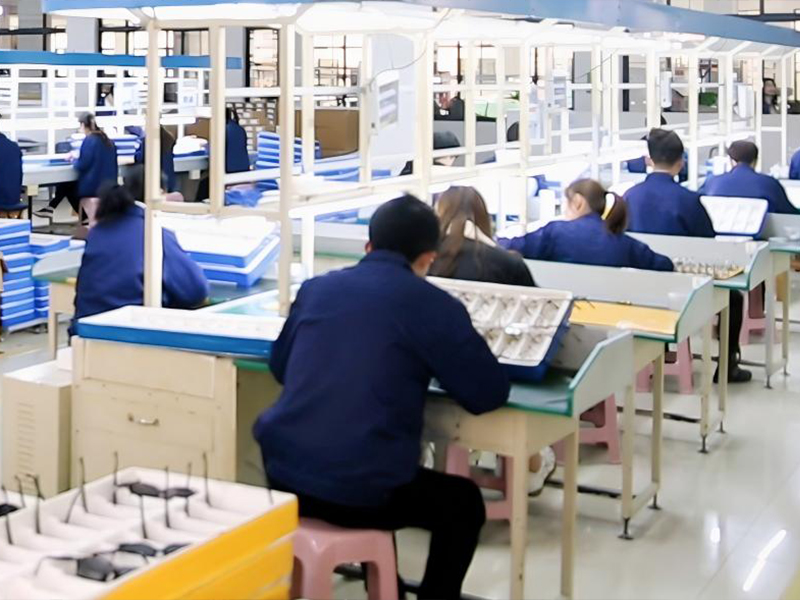
Our quality inspection team implements strict quality control procedures for all incoming materials.
Raw materials undergo a preliminary inspection upon arrival, especially lenses and metal components. Defective materials are screened out. This also includes packaging materials: packaging customized with a customer logo undergoes a full inspection. We understand that retail customers prioritize packaging solutions, so incoming packaging undergoes an initial inspection. Furthermore, when packaging glasses, we perform a double inspection to screen out substandard or defective packaging boxes.
Our quality inspection team implements strict quality control procedures for all incoming materials.
Every work group in the production process has an inspector. Approximately 15% of the factory’s staff are quality inspectors, working on frames, temples, painting, hinges, logos, and assembly. They’re stationed in each workshop to inspect the quality of finished products at each stage.
Appearance and size testing to ensure that the product is completed in accordance with the order requirements

Objective: To ensure all critical dimensions (e.g., lens width, bridge width, temple length) conform to specified tolerances and markings.
Method: Precise measurement using calibrated digital calipers or specialized eyewear dimension measuring instruments.
Testing Equipment: Digital Calipers / Focimeter with frame measurement function.
Objective: To identify surface flaws such as scratches, burrs, coating irregularities, bubbles, or impurities.
Method: Visual inspection is performed by quality control personnel under standardized lighting conditions (D65 light source is common) to ensure cosmetic perfection.
Testing Equipment: Standard Light Booth / Visual Inspection Station

Other laboratory tests to ensure its safety, durability, comfort and durable stability. These tests mainly follow international (such as ISO 12870) and national standards (such as GB/T 14214).
This type of test primarily checks whether the frame’s structure is strong enough to withstand the stresses of daily wear.
Hinge Fatigue Test
Objective: To simulate the repeated opening and closing of temple arms over many years, assessing the durability and longevity of the hinges.
Method: The front of the frame is clamped into place. The temple is then repeatedly opened and closed through a specified angle (e.g., 90°) at a defined frequency for a set number of cycles (typically ≥500 cycles without failure).
The fatigue testing machine tests the frames to ensure they have a certain level of fatigue resistance, ensuring that the frames can be safely worn for 2 years or more and confirming that the frames can withstand normal wear and tear.
Reference Standards: EN1836, ISO12870, GB/T14214-2003, etc.
The fatigue
testing machine test
(Sweat Corrosion Test)
Resistance to Perspiration
Objective: To evaluate the corrosion resistance of coatings, platings, and base materials when exposed to human perspiration.
Method: Samples are partially immersed in an artificial perspiration solution and stored in a controlled environment for a set period (e.g., 48 hours). Afterwards, they are cleaned and examined for surface corrosion, peeling, discoloration, or other defects.
Evaluate the durability of the eyewear frame by reciprocating or cyclic wear according to the set parameters to ensure that the quality of the spectacle frame meets the relevant industry standards
Wear testing machine
Other laboratory tests to ensure its safety, durability, comfort and durable stability. These tests mainly follow international (such as ISO 12870) and national standards (such as GB/T 14214).
This type of test primarily checks whether the frame’s structure is strong enough to withstand the stresses of daily wear.
Hinge Fatigue Test
Objective: To simulate the repeated opening and closing of temple arms over many years, assessing the durability and longevity of the hinges.
Method: The front of the frame is clamped into place. The temple is then repeatedly opened and closed through a specified angle (e.g., 90°) at a defined frequency for a set number of cycles (typically ≥500 cycles without failure).
Testing Equipment: Hinge Fatigue Tester
Frame Flexibility &
Permanent Deformation Test
Objective: To verify the frame's ability to withstand lateral deformation and return to its original shape without permanent deformation or fracture.
Method: The frame is fixed, and a force is applied outward to the rear of the lens aperture for a specified duration. The force is then released, and the permanent deformation is measured against allowable limits.
Testing Equipment: Multi-Function Frame Tester (with appropriate clamps)
Nasal Pad / Bridge Deformation Test
Objective: To assess the resistance of the bridge area to deformation from downward pressure (e.g., sliding down the nose).
Method: The frame is fixed at the temples or endpieces, and a force is applied downward to the bridge. The deformation and recovery are measured.
Testing Equipment: Often integrated into a Multi-Function Frame Tester.
Temple Pull Test
(Tensile Strength)
Objective: To test the temple's resistance to breaking when subjected to an accidental pulling force.
Method: The front is fixed, and the temple is pulled outward to a specified angle or force level, held, and then released. The frame is inspected for damage.
Testing Equipment: Multi-Function Frame Tester with tensile clamps.
In addition to the above tests, which can be completed in our own laboratory, the Z87.1 and Z87+ related tests required for safety glasses will be completed by a dedicated third-party authorized testing agency, and the corresponding test report will be issued.
In addition to the above tests, which can be completed in our own laboratory, the Z87.1 and Z87+ related tests required for safety glasses will be completed by a dedicated third-party authorized testing agency, and the corresponding test report will be issued.


Our in-house R&D team delivers custom development solutions tailored to your needs !


